I recently aquired a Smart Roadster and boy I like it! It is very fun to drive.

Being such an old vehicle (2003), it has a tendency to develop faults. This time it was a handbrake lever. The tip of the lever popped out and lever did not want to stay in upright position at all. This is a common fault and it is known very well with owners of these little cars. Recommended way to repair this is buying a whole new handbrake lever. That would set you back about 140€, plus installing cost. That does not suffice with us.

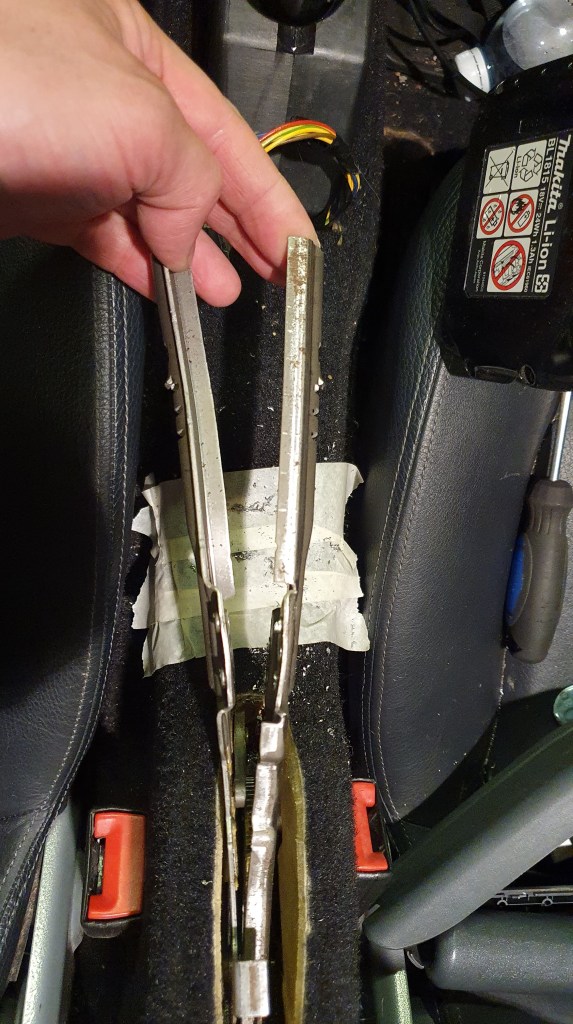
This thing circled in red popped out. Yellow circe will be explained later. Being a bit lazy, I did not want to remove seats and carpet. I decided to try repair it in situ. Before this view I had to remove some plastic. Very well executed tutorials can be found online, where they explain, how to take things apart from Smart roadster. I followed one and tada, cover is removed!
Next step was to drill five rivets away with a cordless drill. After that it was possible to remove the guts of lever.
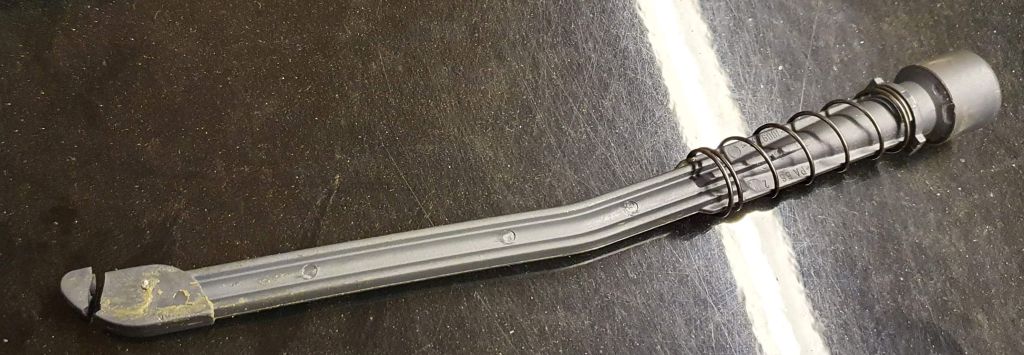
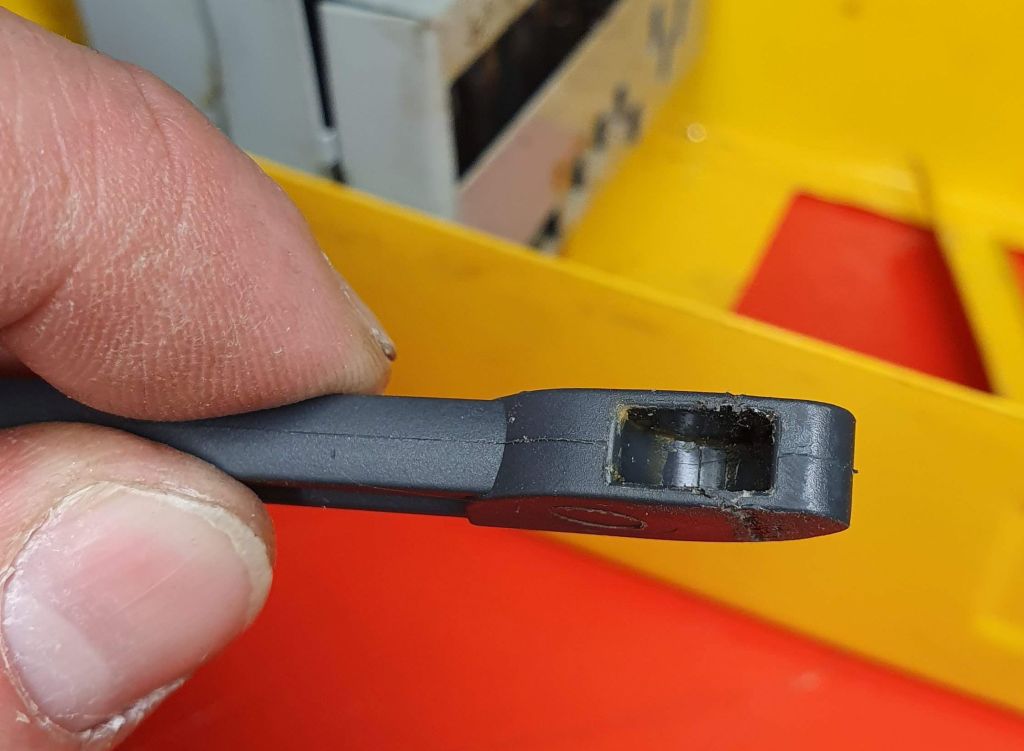
I found out that a little piece was broken from the main shaft.

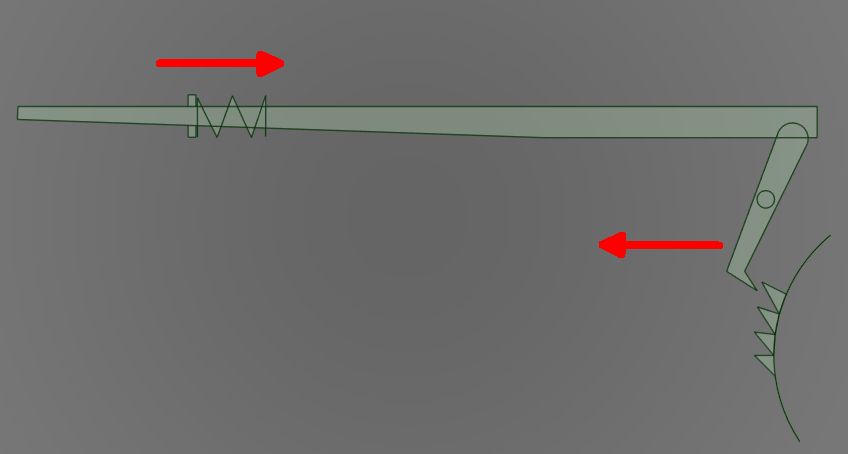
That cavity moves another lever whic control how up handbrake lever stays when pulled. See below. It looks very fragile and I wonder how engineers would choose this way to do it. Maybe it has something to do with artificial aging or something.
Instead of buying a new handbrake lever I decided to try repair it with soldering iron.

Heating turned out okay.

When drilling those rivets out, I realized that one rivet was different than others. It was a lot thicker. Turned out that this rivet was also a pivoting point for a smaller lever inside handbrake lever. Smaller lever can be seen in the CAD-picture. This rivet was also circled yellow in the second first picture. I had to make threads to it in order to get it back without welding. Actually, I used M5 screws and nuts to get my handbrake lever back in shape.


There was some minor hickups during the way. One of those four screws had to leave because screw’s head was too big and it was blocking way for one screw of the plastic cover. I also had to melt plastic cover because those nuts was protruding too much.


Finally it was all in one piece! 🙂
I had to add that black zip tie even before this job, because somebody before me had broken those small plastic clips which keeps front piece of hadbrake lever cover together.

Now I just have to wait and see, how much extra time I got with this repair.
Being such an old car, there is definetely more repairs to come..
Cheers!
